Gold Leaf
Presented by FWWA member Mike Wiggin at the October 2012 FWWA Meeting
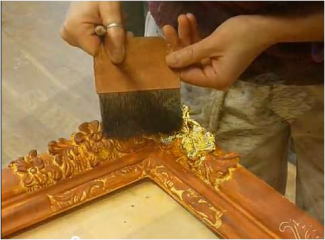
What is Gilding?
Gilding (gold leafing) is the process of applying a thin gold coloured metallic layer to the surface of, traditionally, wooden or stone objects. Egyptians used gilding around 4000 years ago, and probably earlier.
The original gilding material was gold, due to its ease of extraction and malleability (31.1g of gold can be beaten into a sheet of 900m2 or 1oz to 100’ x 100’ sheet).
Silver is close to gold in malleability. Copper is much less so. Aluminium is very malleable and is frequently used.
The metallic layer is adhered to the substrate by some form of glue and often has a protective coating applied over it.
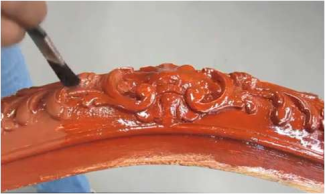
Sizing Colours
Ancient Egyptians used a watery clay as sizing which gave a reddish base colour to the gilding. Clay red or similar colours are still a very popular for sizing
Why a Contrasting Size Colour?
If you want an aged look, the traditional clay red size can be left exposed in places or the gold leaf can be rubbed off – simulating wear on the high points – to age the piece.
It also helps you see where you’ve applied the size.
The Gilding Project
Plantagenet Wines commissioned a bar for their cellar door sales. They also wanted their logo on a sign with the lions in gold and the lettering in black. I figured I could do the first part - Dick Erskine figured I could do the second part.
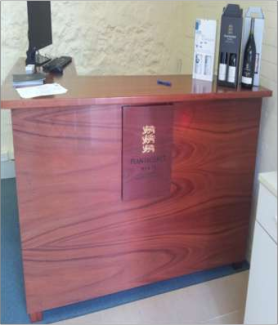
Preparing the Sign
The shingle is a 19mm piece of jarrah. Kevin Luff engraved the Plantagenet logo artwork onto the shingle using his CNC router. The lions were gilded before applying any finish to the jarrah.
The finish for the timber was 5 coats of Minwax Wipe-on Poly Satin followed by a couple of coats of Gilly Stephenson’s Carnauba Wax for a final polish.
Gilding Materials
I got a gilding kit from Jacksons Art Supplies for $50.00.
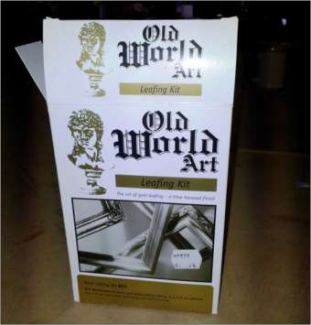
A gold leaf book that would cover roughly the same area would have cost around $100.00.
The kit provided the book of gold coloured metal leaf, a bottle of clear sizing, two (really rough) brushes and a bottle of sealer.
Getting Started
The instructions in the kit and all the guidance I could find on the net started by saying “... make sure the surface to be gilded is clean, flat and smooth...”
I didn’t do that...
First Trials
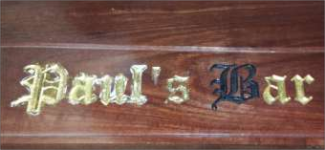
First I got some trial pieces (you’d be surprised how many rejects a CNC router can generate).

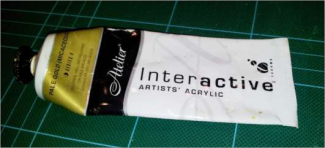
I started by using the sizing supplied in the kit – not really a success... Then I tried artists gesso, another form of sizing used on canvas – a little better, but not great. Finally the light dawned and I sized the trial piece with acrylic gold paint.
Sizing the Surface
The Size (primer) is used to:

- Seal the surface of the wood and form a non-porous layer that will not flake off;
- Provide a solid base for the subsequent layers of adhesive size.
Latex paint forms a good size for wood. I used two coats of gold latex artist’s paint for sizing the signs.
Applying the Glue
When gilding carved detail, avoid any pooling of the glue in the recesses and at the bottom of the slots.
Applying the Leaf
Allow the glue to get tacky – around 10 minutes before applying the leaf.
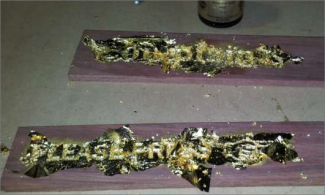
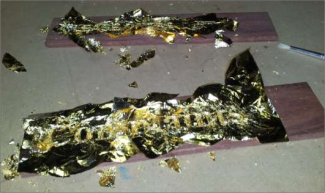
Place a leaf loosely over the carving and press it into the carving with a fine brush (squirrel, sable etc is recommended, but most soft artist’s brushes seem to work well enough).
Repeat immediately with a second leaf to cover the places where the first leaf has split as it stretched while being pressed in.
Pooling results in uneven tack time, with the high areas at perfect tack - while any pooled areas remain too wet.
Press down the gilded area thoroughly with a cotton wool pad to ensure the leaf is fully in contact with the glue.
Leave to dry for about 2 hours and repeat with glue and a third leaf if required.
First Leaf
Second Leaf
Sealing the Leaf
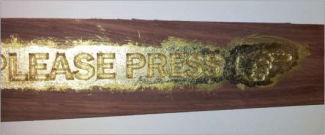
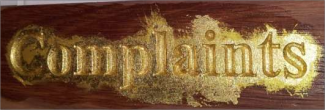
Once the glue is fully dry, use a stiff bristle artist’s brush to remove any unattached leaf.
Don’t do this in the house – the leaf flakes are remarkably light, easily diffused throughout the room and bloody hard to clean up.
Apply one or more coats of sealer, allowing at least one hour to dry between coats.
Sand to Finish

Once the sealer is dry, sand the surface with a random orbit sander to remove anything not in the carving.
